How to Make Your First Cut Plan
Create a first Grainline project, assign boards, set kerf, and generate a layout you can review.
Start with the project you actually want to cut.
The goal of a first cut plan is not to make the project artificially simple. The goal is to make sure the project settings, parts, boards, and layout all line up before you start cutting.
Step 1. Create a project
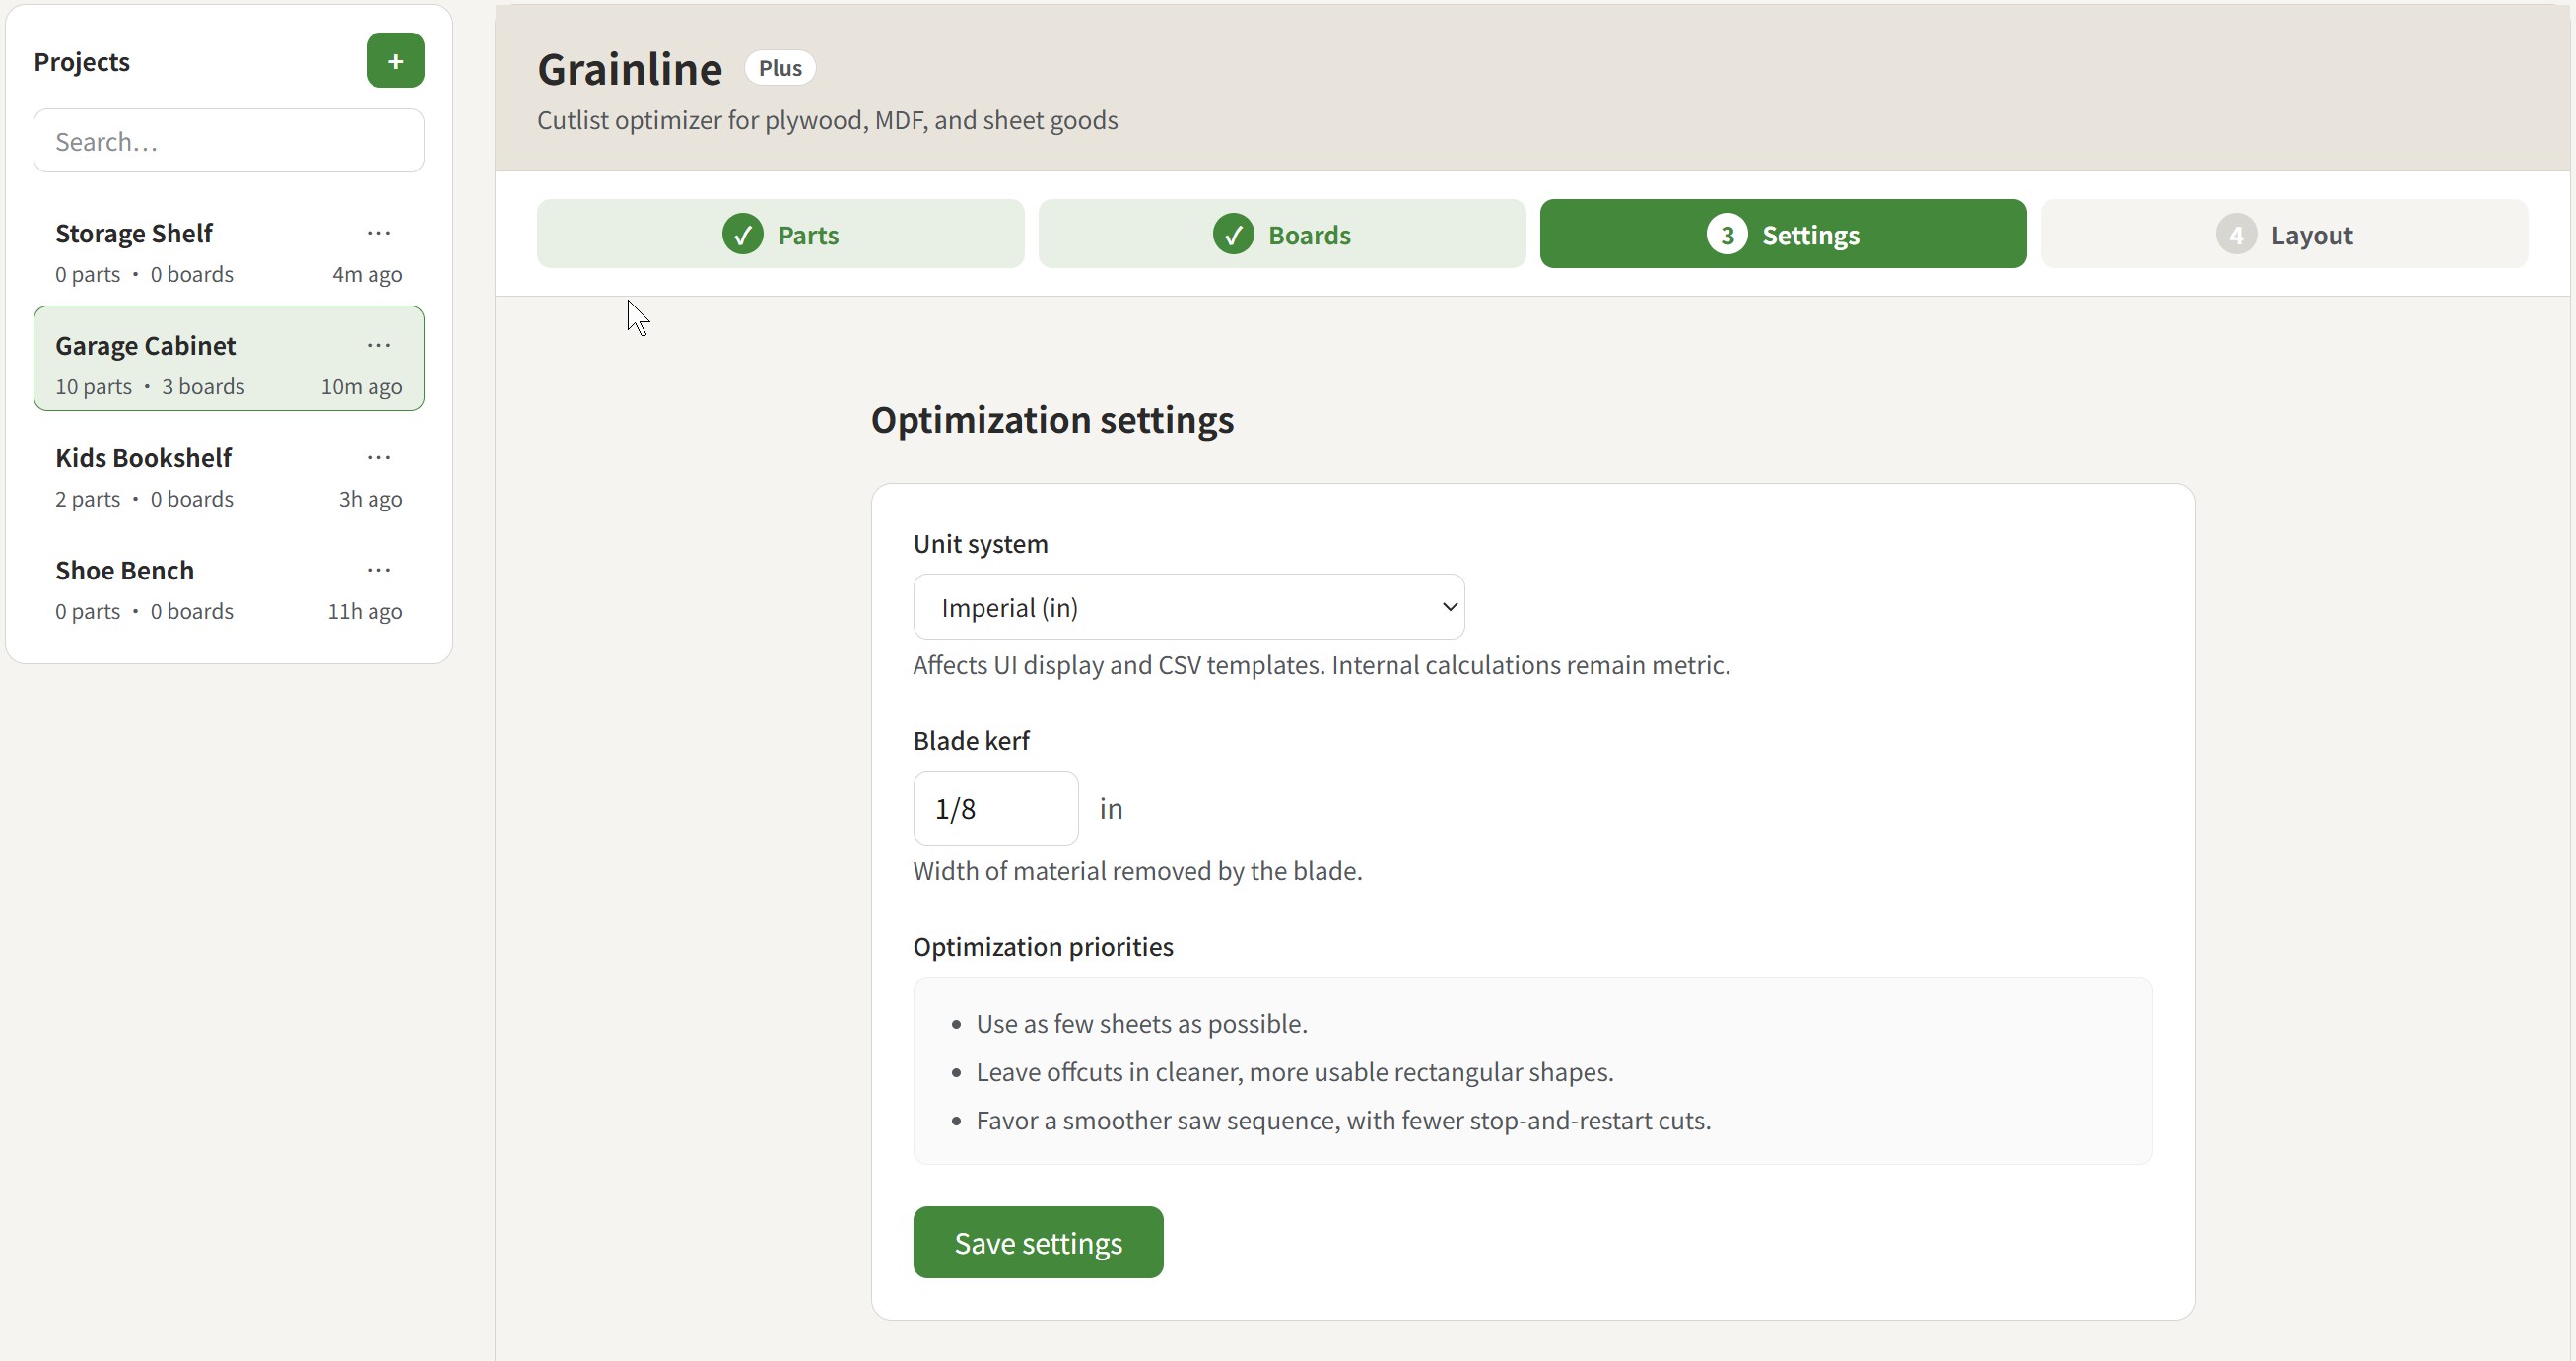
Start a project and choose the unit system you actually work in, whether that is metric or imperial.
This is also a good time to check the kerf setting. Use the blade you actually plan to cut with, not a generic default.
You can change both Units and Kerf later, and each project keeps its own settings.
Step 2. Add your parts
Use one of these methods:
- Import a file
- or, Paste rows
- or, Add parts manually
At this stage, clarity matters more than speed.
💡 Learn more: Parts First: How to Prepare a Grainline Import File (CSV or XLSX)
Step 3. Confirm the board assignment
Each part should point to the board you expect to cut from.
Do not treat this like a minor admin field. If the board assignment is wrong, the layout logic will be solving the wrong problem.
Step 4. Set kerf before you generate anything
Kerf is one of the easiest ways to get a layout that looks fine on screen but becomes unreliable in the shop.
If you are not sure yet, start from the blade you actually plan to use and come back after a test cut if needed.
💡 Learn more: What Kerf Should You Use for a Track Saw or Table Saw?
Step 5. Generate the layout
Once the parts, boards, and kerf are in place, click "Run optimization" to generate a layout and review:
- How many boards you need
- Part placement
- Whether the result looks easy or awkward to cut
- Whether the leftovers still look useful
Step 6. Review before cutting
Do not stop at it fit on the sheet.
Ask:
- Does this still look practical in the shop?
- Did any narrow or awkward cuts show up?
- Is there any cut-flow issue I should catch now?